 9 min read
Plenty of Windows 7 computers are still at work in school labs, workshops, laboratories, museums and factory floors — usually because they run a piece of equipment or software that never moved to a newer system. These machines are often attached to projectors and used for demonstrations, which makes them natural candidates for a screen annotation tool. Pointofix on Windows 7 is a good match: the program is small, light on resources, works fully offline and comes from the same era of desktop software design. This guide explains how to install and use it on Windows 7, and how to do so responsibly on an operating system that no longer receives security updates.
Compatibility
Pointofix is a 32-bit desktop program and runs on both 32-bit and 64-bit editions of Windows 7 — Starter, Home Premium, Professional, Ultimate and Enterprise. It does not need the .NET Framework or other runtimes, and it works with both the Aero theme and the Windows 7 Basic or Classic themes.
On 64-bit Windows 7 the default installation folder is C:\Program Files (x86)\Pointofix; on 32-bit it is C:\Program Files\Pointofix.
A Word About Security First
Microsoft ended support for Windows 7 in January 2020, and extended security updates for business customers ended in January 2023. A Windows 7 PC no longer receives security fixes. That does not stop you from using it, but it changes how you should use it:
- Keep it off the internet where possible. Pointofix does not need a network connection at all, which makes it ideal for an isolated presentation machine.
- Transfer files with a clean USB drive, scanned on an up-to-date computer before and after use.
- Avoid browsing and email on the old machine. Do those tasks on a supported device.
- Use a standard user account for daily work and an administrator account only for installation.
Following these habits, a Windows 7 projector PC can serve safely for presentations and demonstrations.
Getting the Package onto a Windows 7 PC
Because modern browsers no longer support Windows 7 fully, the easiest route is often to download on a current computer:
- On a Windows 10 or 11 PC, download the archive using the button on the homepage.
- Scan it with Microsoft Defender.
- Copy the archive to a USB drive.
- On the Windows 7 PC, copy the archive from the USB drive to the desktop or a local folder.
- Right-click the archive and choose Extract All.
Windows 7 can open standard .zip files without extra software.
Installing
- Open the extracted folder and double-click the setup program.
- Confirm the User Account Control prompt. On Windows 7 this prompt dims the screen; this is normal.
- Choose the destination folder and whether you want a desktop icon.
- Finish the wizard.
If Windows shows an Open File – Security Warning dialog for a file copied from another computer, untick Always ask before opening this file only if you trust the file, then click Run. You can also right-click the setup program, choose Properties, and click Unblock at the bottom of the General tab before running it.
Setting the Language
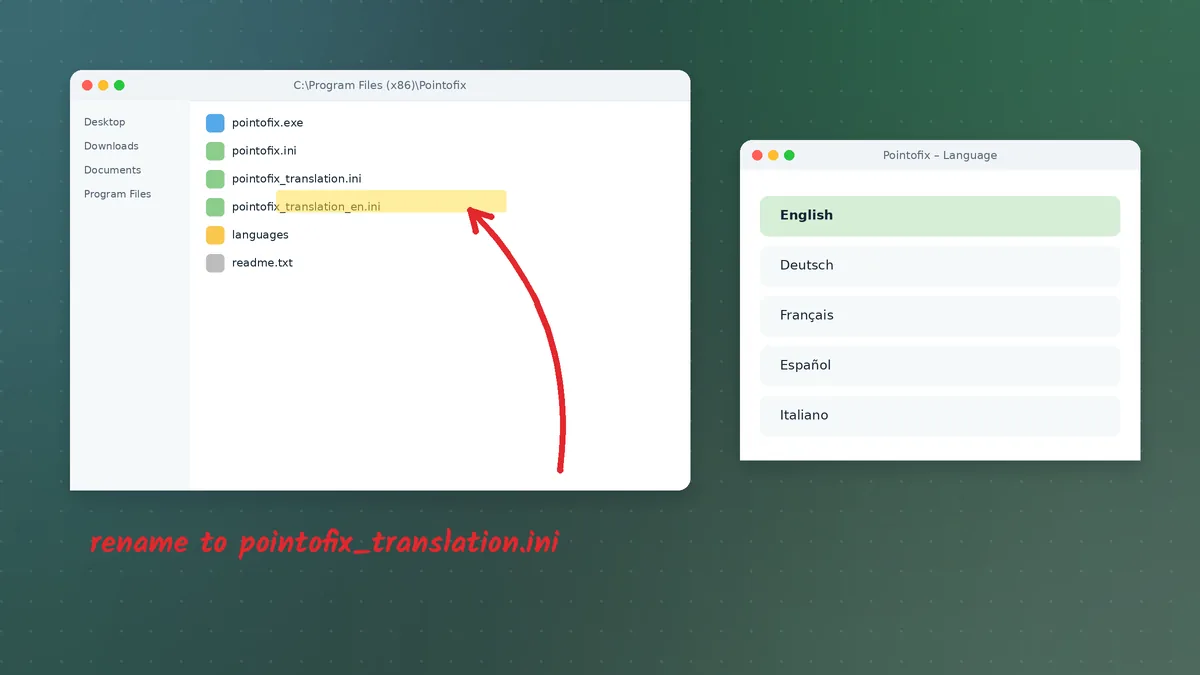
The program starts in German. To change it, copy the English or French translation file from the language pack into the installation folder and rename it pointofix_translation.ini.
On Windows 7, extensions are hidden by default. Press Alt in Windows Explorer to show the menu bar, then choose Tools → Folder options → View and untick Hide extensions for known file types. Now you can see whether the file is really named .ini and not .ini.txt. Exit Pointofix from the tray and start it again. The Pointofix English guide and the French guide cover this step in more detail.
Keeping the Tray Icon Visible
Windows 7 places Pointofix in the notification area at the bottom right. If it is hidden behind the small upward arrow:
- Click the arrow and choose Customize.
- Find Pointofix in the list and set it to Show icon and notifications.
- Click OK.
Performance on Older Hardware
Windows 7 machines are often a decade old, with modest processors and 2 to 4 GB of memory. Pointofix is undemanding and normally starts instantly on such hardware. A few suggestions keep it feeling snappy:
- Close heavy programs you are not presenting, especially browsers with many tabs.
- Use the Windows 7 Basic theme if Aero feels sluggish on an older graphics card. Annotation works the same with either theme.
- Prefer drawing mode with a frozen screen over live zoom on slow graphics hardware; live zoom requires continuous redrawing.
Projectors and Old Display Hardware
Windows 7 PCs are frequently connected to older projectors with low native resolutions such as 1024 × 768 or 1280 × 800. Some practical advice:
- Match the PC resolution to the projector where possible. Annotation looks sharpest at the projector's native resolution.
- Use Duplicate mode (Windows key + P → Duplicate). It gives the most predictable alignment between what you draw and what the room sees.
- Increase the pen width. Thin lines vanish on a dim projector in a bright room.
- Choose strong colours — red, dark green and blue project better than yellow pen strokes. Keep yellow for the transparent highlighter, where it works well.
Everyday Use
The core routine is the same on every version of Windows:
- Press the hotkey (or click the tray icon) to start drawing mode.
- Select a tool and a colour from the palette.
- Draw, highlight, frame or label what matters.
- Clear the drawing and exit drawing mode before you move on.
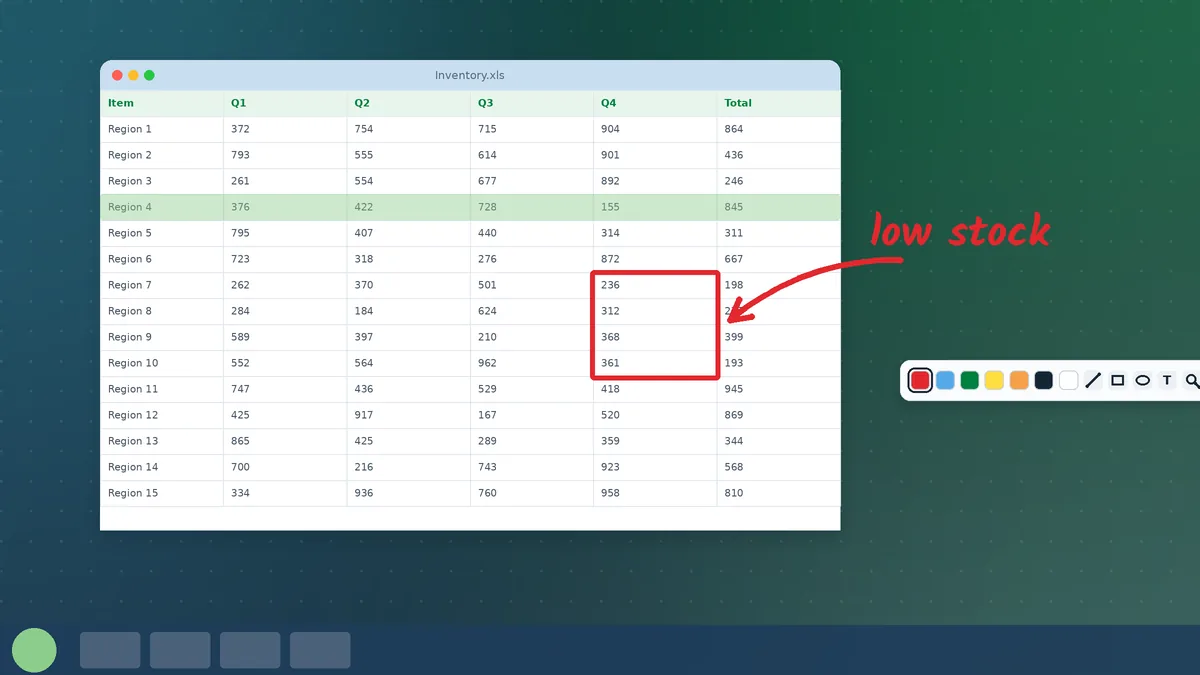
Because Windows 7 PCs often run specialised software — measurement tools, machine controllers, legacy databases — Pointofix is a convenient way to explain those interfaces to trainees without touching the software's own settings. You annotate the screen, not the application.
Saving Annotated Screens
Saving a marked-up screen is useful for training handouts and maintenance logs. Create a folder such as C:\Users\Public\Pictures\Pointofix so every account on the machine can reach it, and save images there. Later, copy them to a USB drive to transfer them to a supported computer for printing or emailing.
Troubleshooting on Windows 7
Nothing happens when the program starts. Check the notification area — Pointofix runs from the tray and does not open a main window.
The hotkey does not respond. Another program may be using the same combination. Many older utilities register global hotkeys. Change Pointofix's hotkey in its options.
The drawing does not appear over a particular program. Programs running with administrator rights can block input from a normal-rights program. Start Pointofix with Run as administrator for that session.
Colours look washed out on the projector. That is the projector, not the program. Choose darker colours and thicker strokes, or adjust the projector's colour mode.
Antivirus on the old machine flags the installer. Outdated antivirus definitions occasionally misidentify small tools. Scan the same file on an up-to-date computer; if it is clean there, the warning is almost certainly a false positive.
The screen flickers when entering drawing mode with Aero. Try switching to the Windows 7 Basic theme via Personalize on the desktop context menu.
Planning Ahead
Pointofix itself is not the reason to keep Windows 7 — it runs just as well on Windows 10 and Windows 11. When the time comes to replace an old classroom or lab PC, your annotation routine, colour conventions and saved images move across unchanged. Simply install the program on the new machine, copy your translation file, and set the same hotkey.
Preparing a Dedicated Presentation PC
If a Windows 7 machine is mainly used to drive a projector, it is worth turning it into a tidy, predictable presentation station. A short preparation list helps:
- Create one shared standard account called something like Presenter and use it for every session.
- Remove startup clutter with msconfig → Startup so only essentials, including Pointofix, launch at login.
- Disable the screensaver and display sleep in Control Panel → Power Options while presenting, so the screen does not go dark in the middle of an explanation.
- Set a plain desktop background to keep attention on the content when windows are minimised.
- Pin your presentation tools to the taskbar — the slide viewer, the PDF reader and the specialised software you demonstrate.
- Enable Pointofix at startup from its own options, so the tray icon is always ready.
Moving Settings to Another Windows 7 Machine
Labs often contain several identical PCs. Once one machine is configured the way you like, you can repeat the process on the others quickly: install from the same USB copy of the archive, copy the same translation file into the program folder, and apply the same hotkey, colours and widths in the options. Writing these values on a single sheet of paper taped inside the lab cupboard makes the next setup — or the next replacement PC — a five-minute task.
Summary
Windows 7 machines can still be valuable presentation and demonstration stations, and Pointofix is well suited to them: small, offline, undemanding and simple. Download the package on a modern computer, move it over by USB, install with administrator rights, set your language and hotkey, and keep the old PC off the internet. With those precautions, Pointofix on Windows 7 remains a reliable way to point out exactly what matters on the screen.