 10 min read
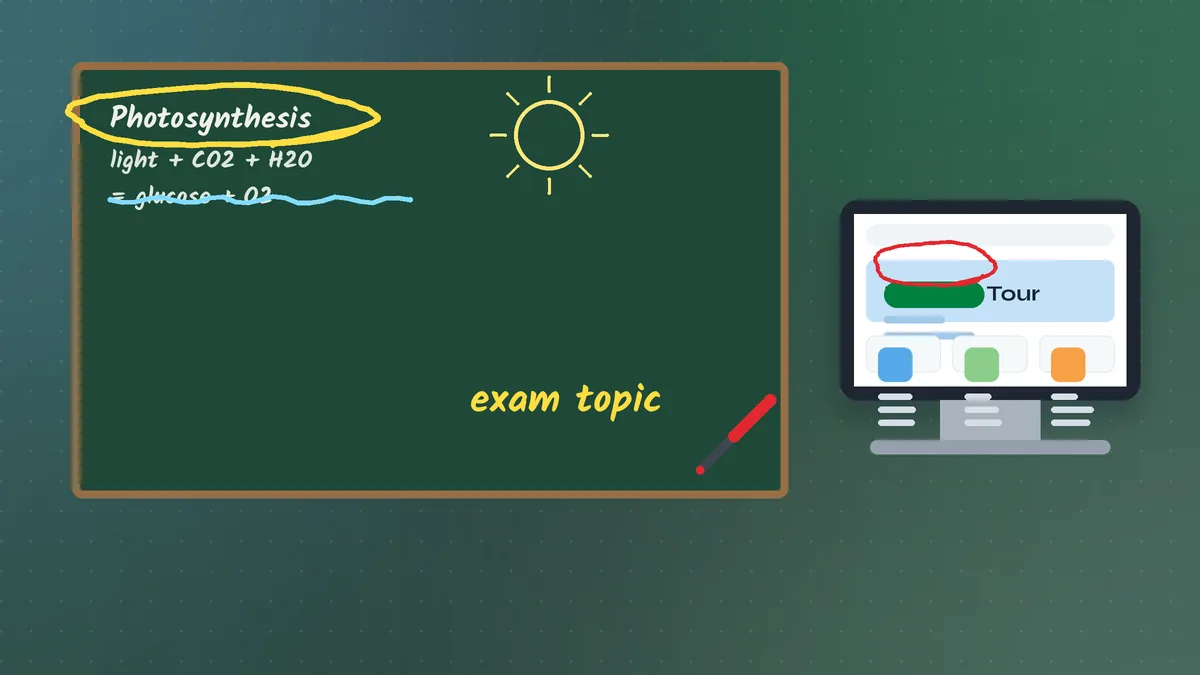
Installing Pointofix is quick; using it well is a skill. The difference between a presenter who scribbles across a screen and one who guides attention precisely has little to do with the software and everything to do with technique. This guide collects practical methods from classrooms, IT training rooms and online sessions: how to plan annotations, which colours to use, when to freeze or zoom, and how to turn a marked-up screen into a lasting resource. Everything here assumes Pointofix is already installed; if not, start with the download guide.
Why Screen Annotation Works
When an audience looks at a busy screen — a spreadsheet, a settings page, a diagram — their eyes wander. Saying "click the button on the right" leaves everyone guessing which button. A single red circle removes the doubt instantly. Research on multimedia learning consistently finds that signalling — visually highlighting the important parts of a display — helps learners select the right information and reduces wasted effort. Pointofix is a signalling tool: it lets you add those cues live, over any content, without preparing anything in advance.
Set Up for the Room, Not for Your Desk
Annotations that look fine on a laptop can disappear on a projector or in a compressed video stream. Before the first session:
- Raise the default pen width. Medium on a laptop often looks hair-thin at the back of a classroom.
- Pick high-contrast colours. Red, dark green, blue and black read well on light backgrounds; yellow and white read well on dark ones.
- Set a transparent highlighter at a level where text underneath stays clearly legible.
- Choose a comfortable hotkey you can press without looking. Practise it until it is automatic.
- Make the tray icon permanently visible so you never hunt for it in front of a class.
Use a Consistent Colour Code
Colour is a language. If red sometimes means "error" and sometimes means "important", the audience has to stop and interpret every mark. Agree on a simple code and keep it all term or all course:
- Red: errors, warnings, things to avoid.
- Green: correct answers, finished steps, the right setting.
- Blue: connections — arrows between related items.
- Yellow highlighter: key terms and sentences to remember.
Explain the code once at the beginning and, if helpful, put a small legend on the first slide. By the second lesson nobody needs it.
Annotate Less, Mean More
The most common mistake with any annotation tool is too much ink. A screen covered with circles becomes as confusing as one with none. Some guidelines:
- One idea per drawing. Make the point, pause, then clear before the next one.
- Circle, don't scribble. A clean ellipse or rectangle around an element is more readable than shading.
- Arrows for relationships, not for pointing. If you only want to show where, a circle is enough. Use an arrow when you mean this leads to that.
- Clear before you move. If the content under your drawing changes, old marks will point at the wrong thing.
Freeze, Then Explain
Pointofix normally holds the screen content still while you draw, so your marks stay aligned with what you are pointing at. Treat this as a teaching moment: freeze the screen at the exact point you want to discuss, annotate it, explain, then release and continue. This is especially useful when demonstrating software, where a menu might close or an animation might move just as you start to talk.
A good rhythm for a software demonstration looks like this:
- Perform the step in the application.
- Press the hotkey to freeze and draw.
- Circle the result and label it if necessary.
- Give learners a few seconds to look.
- Clear, exit drawing mode and continue.
Zoom for Detail
Small text — a cell reference, a version number, an error code — is often the exact detail the class needs. Use Pointofix's zoom mode to enlarge that area, then annotate on the enlarged view. Live zoom, which follows the pointer, works well for walking through a long dialog box. Keep zoom usage purposeful: zoom in, make the point, zoom out. Constant zooming can make viewers feel seasick, especially online.
Typed Labels Beat Mouse Handwriting
Writing with a mouse is hard, and messy handwriting projected at two metres tall is harder still to read. Use the text tool for anything longer than a tick or a number. Short labels — "step 2", "wrong unit", "use this" — are enough. If you teach in two languages, label in both, as the French-language guide suggests.
If you have a pen tablet or a 2-in-1 laptop with a stylus, handwriting becomes much more natural. Test the setup in advance, as pen behaviour varies between devices.
Classroom Techniques by Subject
Languages: highlight grammar patterns in a projected text, circle agreement errors, and connect pronouns to the nouns they replace with arrows.
Mathematics: mark equal sides and angles on a geometry figure, draw auxiliary lines, and circle the step in a worked solution where most students go wrong.
Science: annotate diagrams of cells, circuits or experiments; frame the variable that changes in a graph.
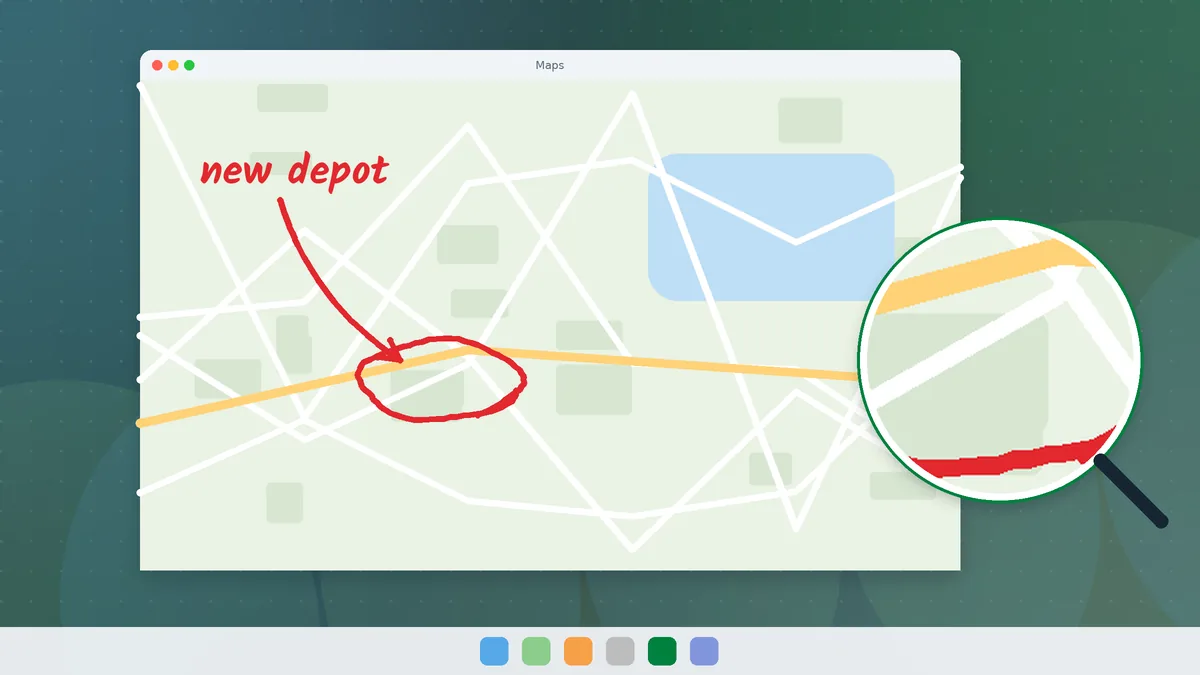
History and geography: trace routes and borders on maps, zoom into primary-source documents, and highlight key phrases.
Computer science: highlight the line of code under discussion, box a function, and draw the flow of execution with arrows.
IT Training and Software Onboarding
For trainers teaching business software, Pointofix solves a constant problem: participants cannot see where the presenter is clicking. Effective patterns include:
- Box the area first, then click. Frame the part of the interface you are about to use so participants look there before anything happens.
- Number the steps. Use the text tool to place 1, 2, 3 next to the controls in order, then perform the sequence.
- Save the annotated screen as a quick reference image for each major step. After the session, you have a ready-made illustrated handout.
- Use colour to separate "must do" from "optional". Green for required settings, blue for advanced options.
Online Sessions and Video Calls
When teaching remotely, your annotations travel through screen sharing and video compression:
- Share the full screen, not a single window, so the overlay is included.
- Thicken strokes further than you would for a room.
- Slow down. Remote viewers often see your drawing a moment later than you do.
- Turn off notifications so pop-ups do not cover your marks.
- Check hotkey conflicts with the meeting software's own shortcuts for mute and camera.
Turning Annotations into Resources
Every annotated screen is a potential learning resource. Make it a habit to save the most useful ones:
- Create a folder per class or course, for example
Pictures\Pointofix\Biology-Year-9. - Name images by date and topic, such as
2026-10-27-photosynthesis-inputs. - After the lesson, drop the images into your learning platform or email them as a recap.
- Reuse them as starter visuals next year.
Saved annotations are also valuable for absent learners, who can see not just the material but what you emphasised.
Accessibility Considerations
- Do not rely on colour alone. Some learners have colour-vision deficiencies. Combine colour with shape — circle errors, tick correct answers — or add a short text label.
- Describe what you draw. Say "I'm circling the total in the bottom right" as you do it. This helps learners with low vision and anyone listening rather than watching.
- Keep high contrast between ink and background.
- Leave drawings on screen long enough to be read; clear them only after a pause.
Common Mistakes to Avoid
- Drawing on content that then changes, leaving marks floating over the wrong things.
- Using too many colours without meaning.
- Turning your back on the audience to draw on a touchscreen without narrating.
- Forgetting to clear before switching windows.
- Choosing a hotkey that clashes with presentation or meeting software.
- Practising for the first time in front of the class.
A Five-Minute Practice Routine
Before a new course, spend five minutes rehearsing:
- Open the material you will present.
- Press the hotkey and circle three items in red.
- Highlight one sentence in yellow.
- Draw one blue arrow between two related items.
- Add one typed label.
- Zoom into a small detail and mark it.
- Save the screen, clear, and exit drawing mode.
Repeat until it feels effortless. When the tool stops demanding attention, your audience's attention stays on the content — which is the whole point of Pointofix.
Letting Learners Take the Pen
Annotation does not have to be the presenter's privilege. Handing the mouse to a learner — "come and circle the mistake" — turns a passive viewing moment into active participation. Keep it safe and quick: show the volunteer which colour to use, let them draw one mark, and clear the screen together afterwards. In online sessions, the same effect comes from asking participants to describe where you should draw, then marking exactly what they said.
Summary
Pointofix is simple by design, and that simplicity rewards good technique. Set it up for the room, adopt a consistent colour code, annotate one idea at a time, freeze and zoom with purpose, prefer typed labels for words, and save your best annotations as resources. Whether you teach a class of thirty, run an onboarding session for new staff or present to a remote team, those habits turn a small freeware tool into one of the most effective pieces of your teaching kit. For operating-system specifics, see the Windows 11, Windows 10 and Windows 7 guides.